Product guide · Example QR page for APH4000Scan to set up, use and care for your purifier
KKNKAPRODUCT CARE
Get support

KNKA AIR PURIFIER · QUICK GUIDE

APH4000 Product Guide

Find the right control, follow the setup steps, and keep your purifier in good condition.

APH4000US editionPreview content · match QR to model before launch
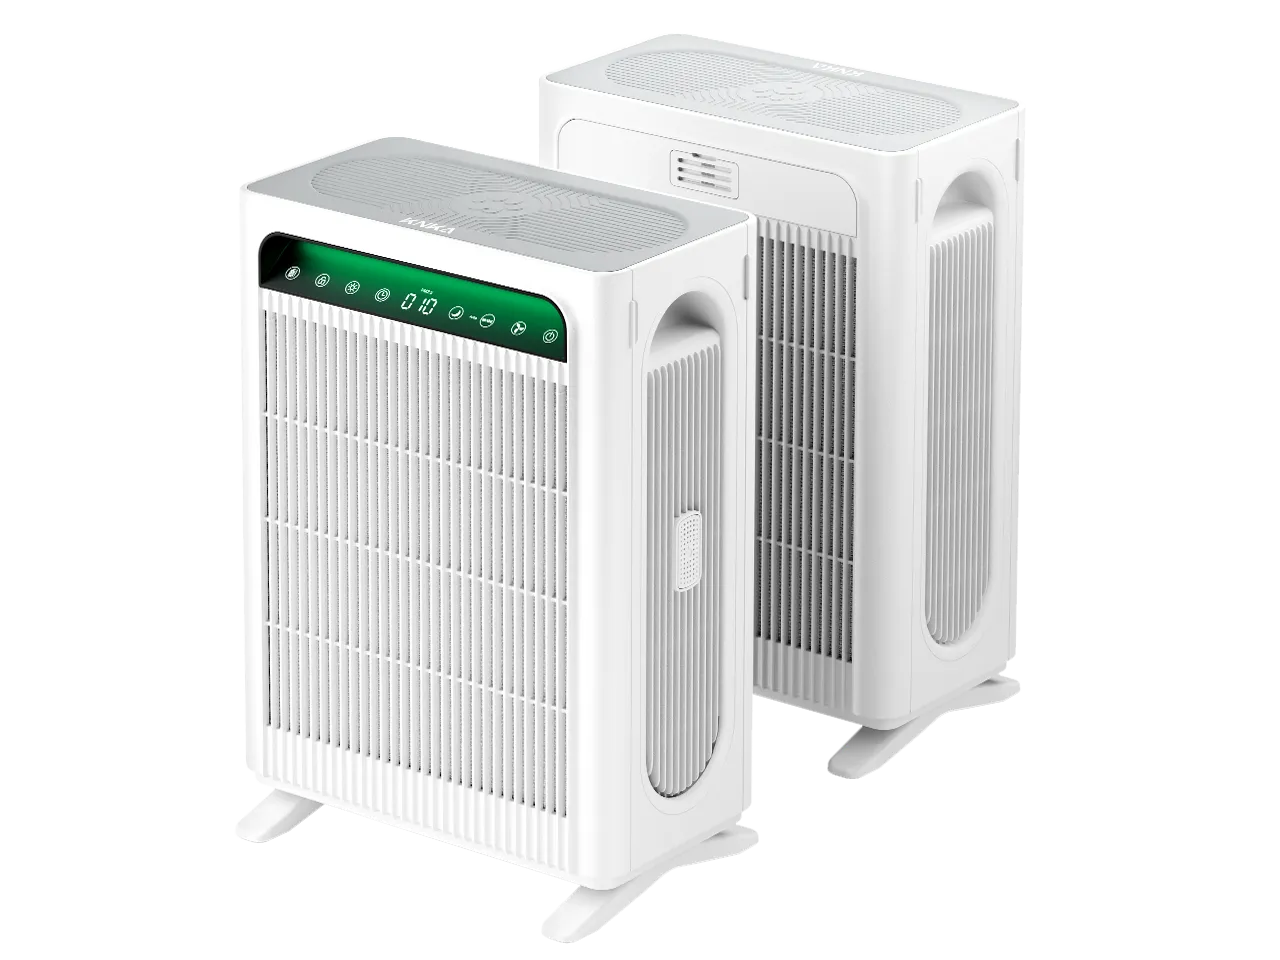
KNKA APH4000 air purifier product referenceAPH4000 · example model
01 / PRODUCT CONTROLS

Know the touch panel

Select one of the eight touch keys to see what it does. PM2.5 and filter-life items are screen readings, not keys.

Official model guides ↗
KNKA APH4000 air purifier showing its front display and upper touch-control panelAPH4000 touch panel · select a key below for its function
SELECTED CONTROL

Filter

Short-press to display remaining filter life for about 3 seconds. After installing a new filter, press and hold for 3 seconds to reset.

A low filter-life alert flashes red; reset after replacing the filter.

Button demonstration

Model-specific video
APH4000 touch-control panel video preview
Buttons & everyday modesFilter reset · timer · modes · sleepVideo to be connected
02 / FIRST USE

Unbox, install and start

Three short steps take you from the box to clean airflow.

Official model guides ↗
APH4000 purifier and product accessories reference01

Check parts & fit the legs

Check the purifier, adapter, support legs, filters, manual and aroma pads against the box list. Fit the support legs before standing the unit upright.

Included parts can vary by market.
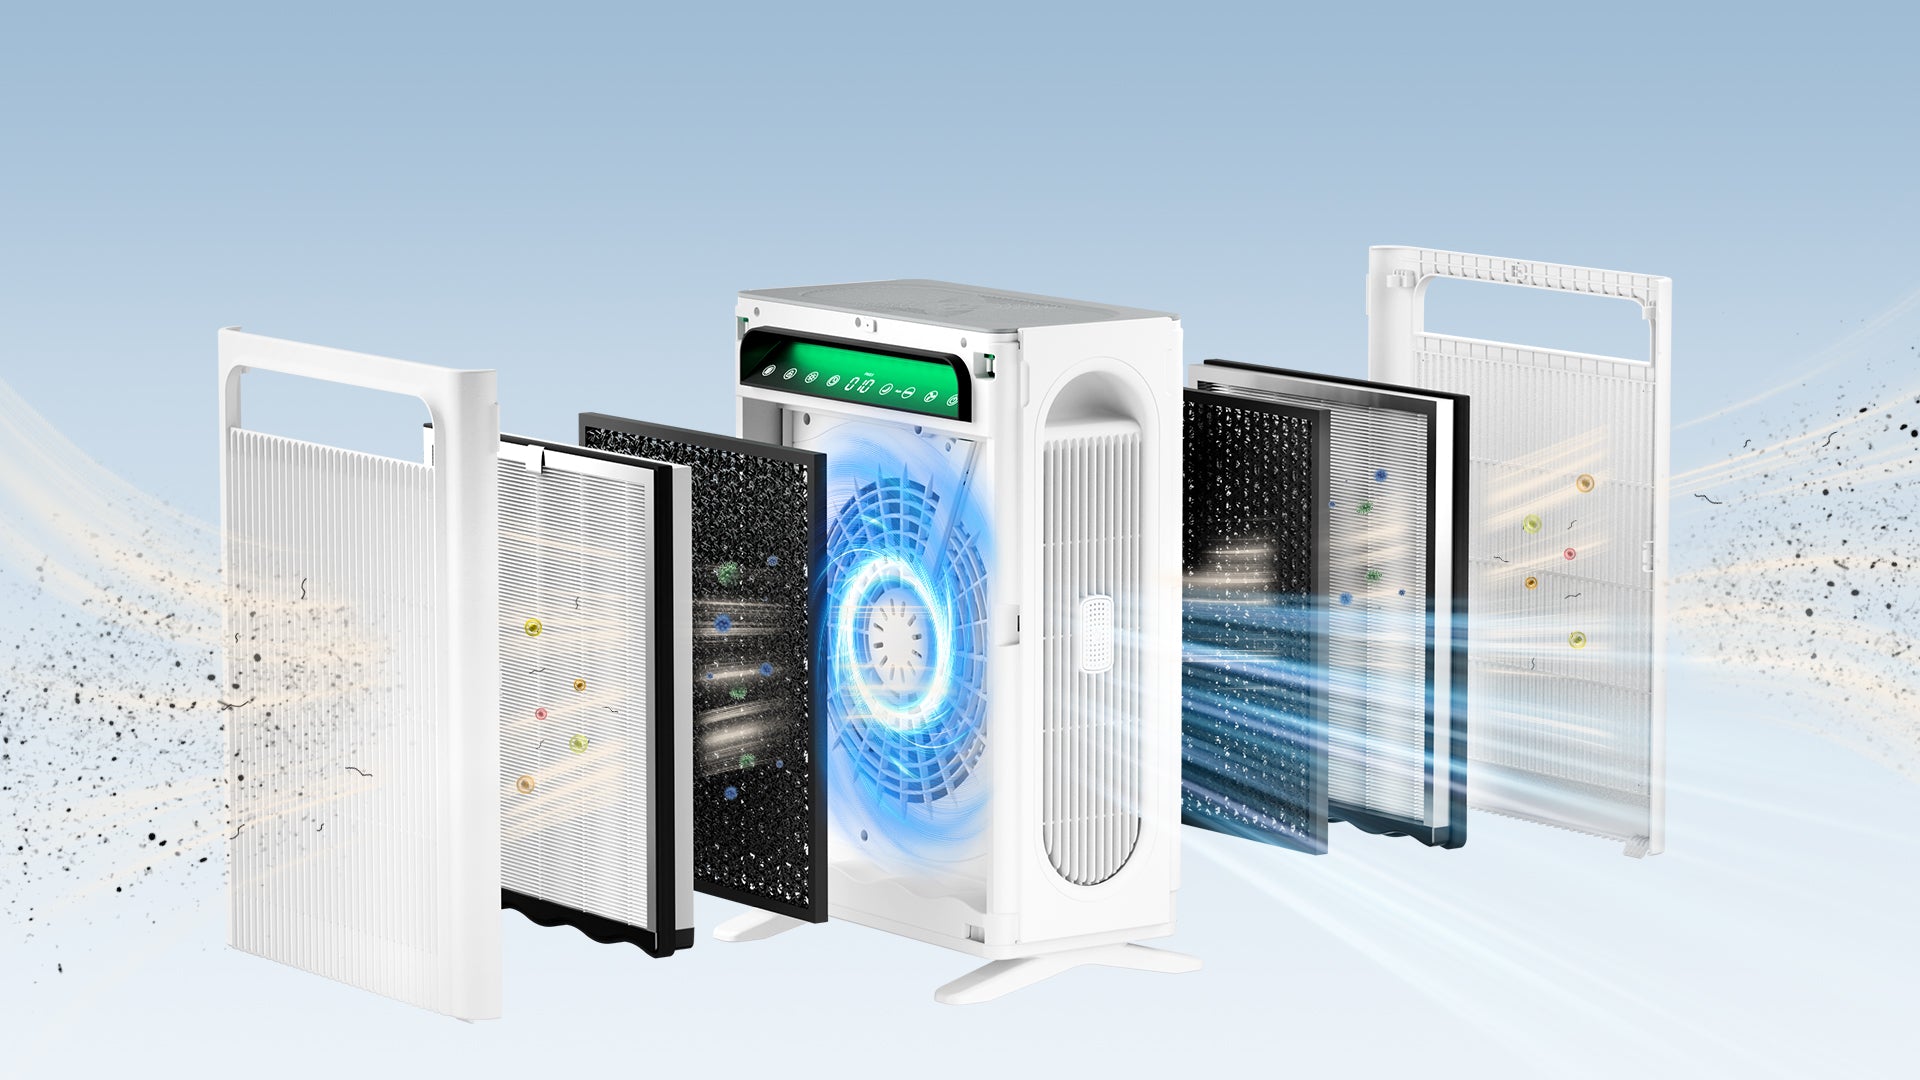
APH4000 purifier with removable filters and front covers02

Remove all packaging

Remove the body’s shipping film if present. Open the front and rear covers, take out the filters, remove each plastic bag and check the direction arrows.

Never run the purifier with filter bags on.
APH4000 purifier ready for first start03

Reinstall and power on

Place filters back in the marked direction, secure both covers, connect the adapter and tap Power. Check that the display lights up normally.

Unplug the adapter before any maintenance.
APH4000 startup order: attach support legs → remove filter bags → reinstall filters and covers → connect adapter → power on.Follow the manual for your exact model.

Installation walkthrough

Unboxing · film · filters
Installation walkthrough video preview
First setup, step by stepUnboxing · body film · filter bags · first startVideo to be connected
03 / PARTS & CONSUMABLES

Find the right filter and parts

Check the model printed on your purifier before ordering. Filter dimensions and fit vary by model.
01

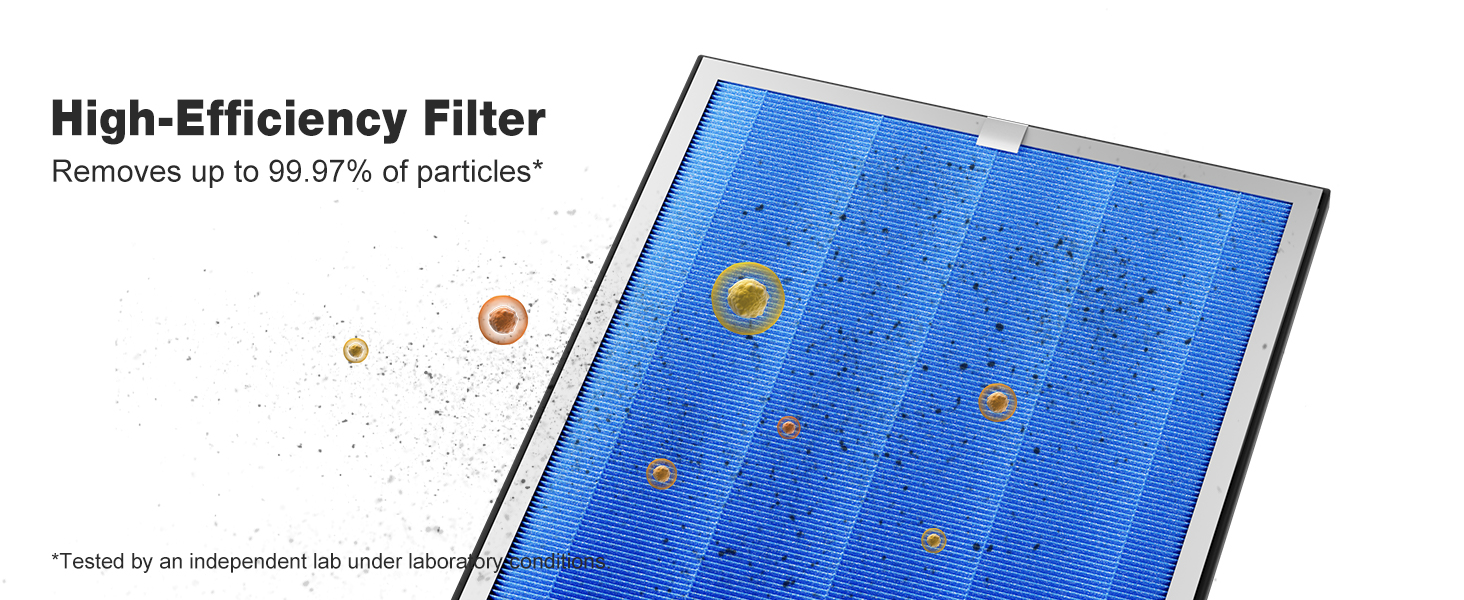
Composite replacement filter

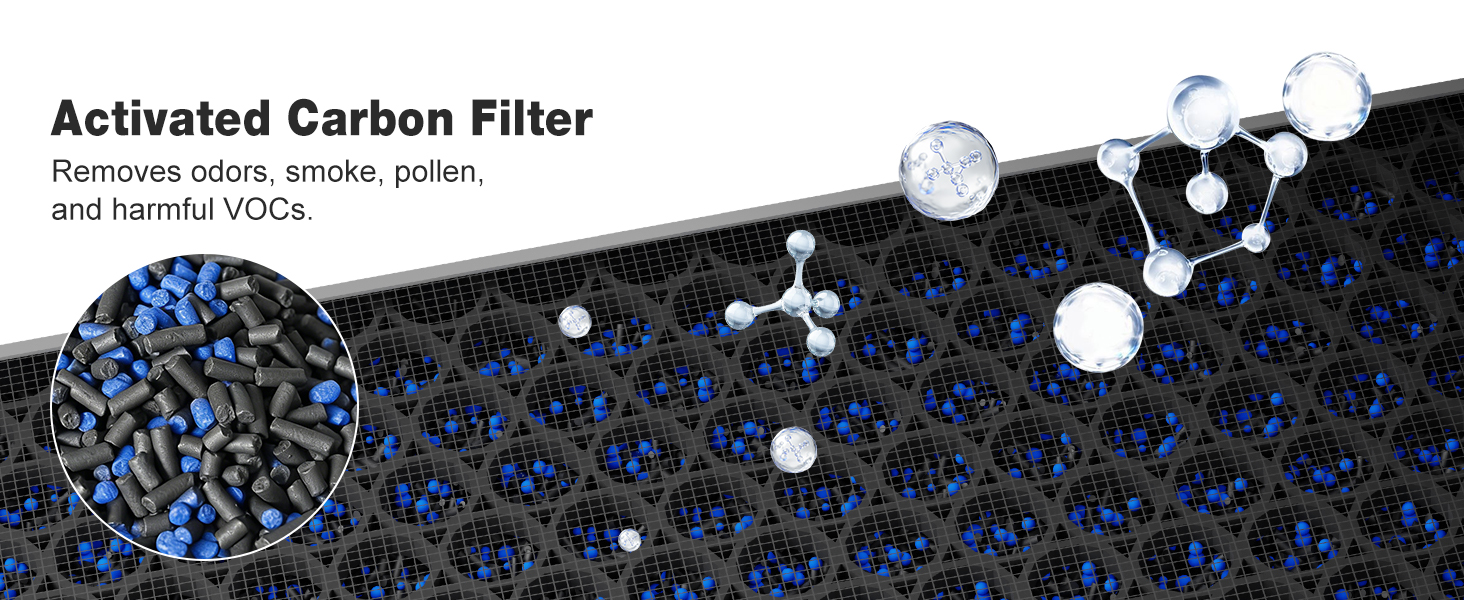
HEPA and activated carbon layers are combined. Vacuum surface dust; do not wash.

Replace
02

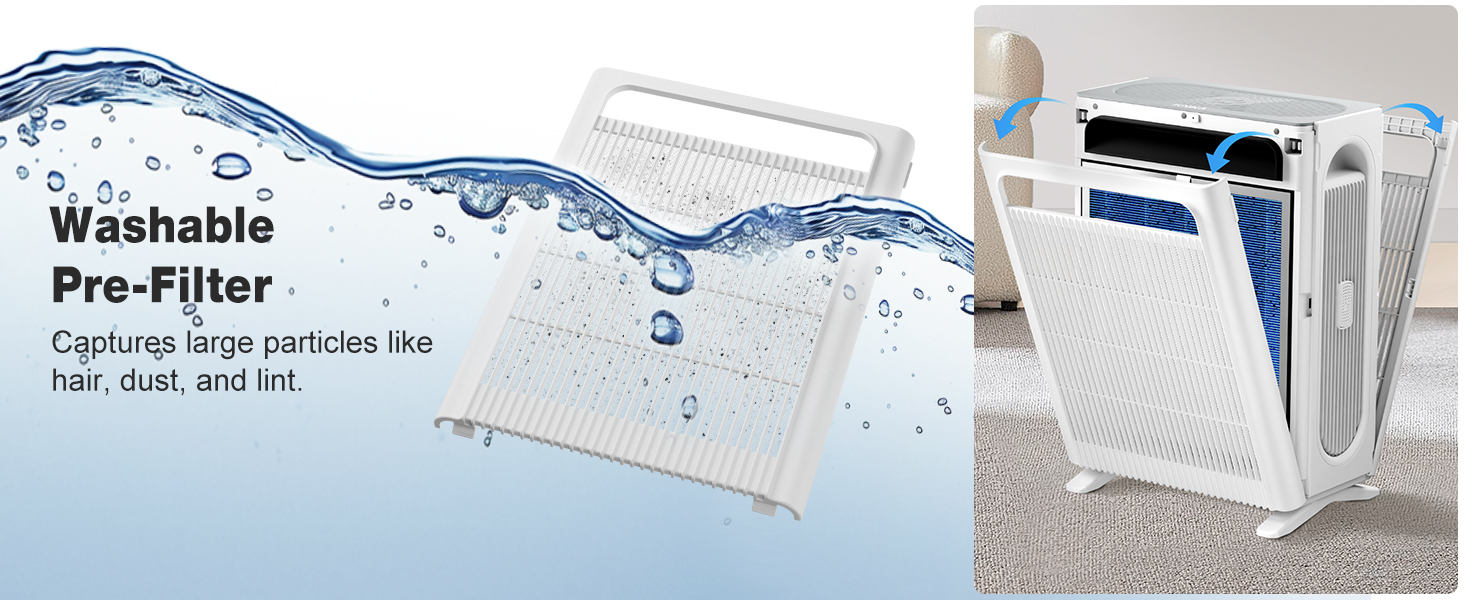
Washable pre-filter

Captures hair and larger debris. Clean with a vacuum or rinse with water; dry fully before reinstalling.

Clean
03

Aroma pad

For the built-in fragrance box. Add a small amount of suitable oil and avoid overflow.

Accessory

Compatible filter reference: APH4000 / APH4000LX. Confirm your purifier model before checkout.

Add package-specific photos for the adapter, support legs and aroma pads before launch.

Filter replacement

Remove · install · reset
APH4000 filter layers video preview
Replace and reset the filterPower off · remove covers · replace · reinstall · resetVideo to be connected
04 / DAILY CARE

Keep it clean, the right way

Unplug the adapter before cleaning. Separate washable parts from parts that must stay dry.

Official care instructions ↗
APH4000 purifier casing and ventsWipe clean · do not rinse

Outer casing & air vents

  • Unplug the adapter first.
  • Wipe monthly with a soft cloth; use a little neutral detergent only for stubborn stains.
  • Do not let liquid enter the unit.
Removable pre-filter in APH4000 filter assemblyWashable part

Pre-filter

  • Remove and clean hair and dust with a vacuum or water.
  • Let it dry completely before reinstalling.
  • Do not wash the HEPA / carbon composite filter.
APH4000 product reference for sensor locationKeep dry · model-specific

PM2.5 sensor

  • Use the APH4000 component diagram to identify the sensor location.
  • The guide does not specify a sensor-cleaning method. Follow approved model-specific instructions or contact support.
  • Do not spray liquid into the sensor or open the housing.
Important Always disconnect power before maintenance. Do not rinse the purifier body, HEPA filter or carbon filter.
Need the sensor location diagram?

The APH4000 component diagram labels the PM2.5 sensor. The guide does not give a cleaning procedure.

Find the APH4000 guide ↗

Cleaning demonstrations

Shell · pre-filter · sensor
Care and cleaning video preview
Clean the washable parts and sensor areaUnplug · wipe · wash pre-filter · dry fully · sensor cautionVideo to be connected
Get support

Video demonstration

View official KNKA demos ↗